Module 1 of 4
Plan the layout
The three ways Somfy lays out channels, so you pick one before pressing anything. After this module you can sketch the channel plan for a room.
2 lessons, then a scenario check.

Shade Motors School · Program It · 101
One channel on a Somfy RTS remote can run a whole room of shades. Learn the three layouts Somfy shows, how to pick a channel, the two-press sequence that adds each shade, and how to take one back out.
You will be able to: Add several RTS shades to one remote channel, and remove one, without losing their own controls.
Inside this course
Module 1 of 4
The three ways Somfy lays out channels, so you pick one before pressing anything. After this module you can sketch the channel plan for a room.
2 lessons, then a scenario check.
Plan the layout
Somfy shows three layouts. Individual gives each shade its own channel. Group puts several shades on one channel. Both mixes single shades, room groups and an all channel.
ExampleA living room with three shades: channels 1 to 3 for each shade and channel 5 for all three.
Plan the layout
A group is one channel paired to several motors. Press that channel and every shade on it moves together.
On the jobWrite the plan on the remote box: which channel runs which shade or group.
Check yourself
Hint: Somfy shows a layout that mixes both.
Individual and group: single channels for each shade plus one channel for the room.
Module 2 of 4
How Somfy multi-channel controls select a channel. After this module you will always know which channel you are programming.
3 lessons, then a scenario check.
Pick the channel
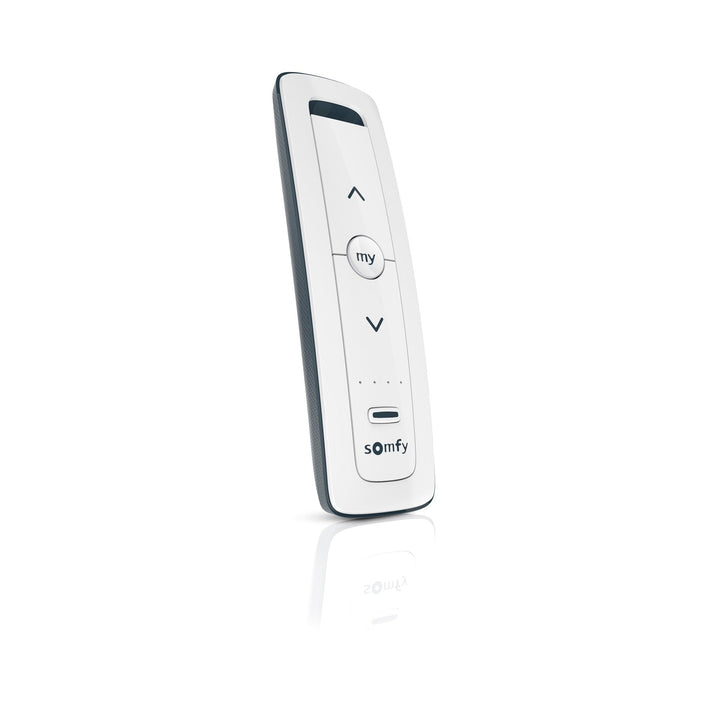
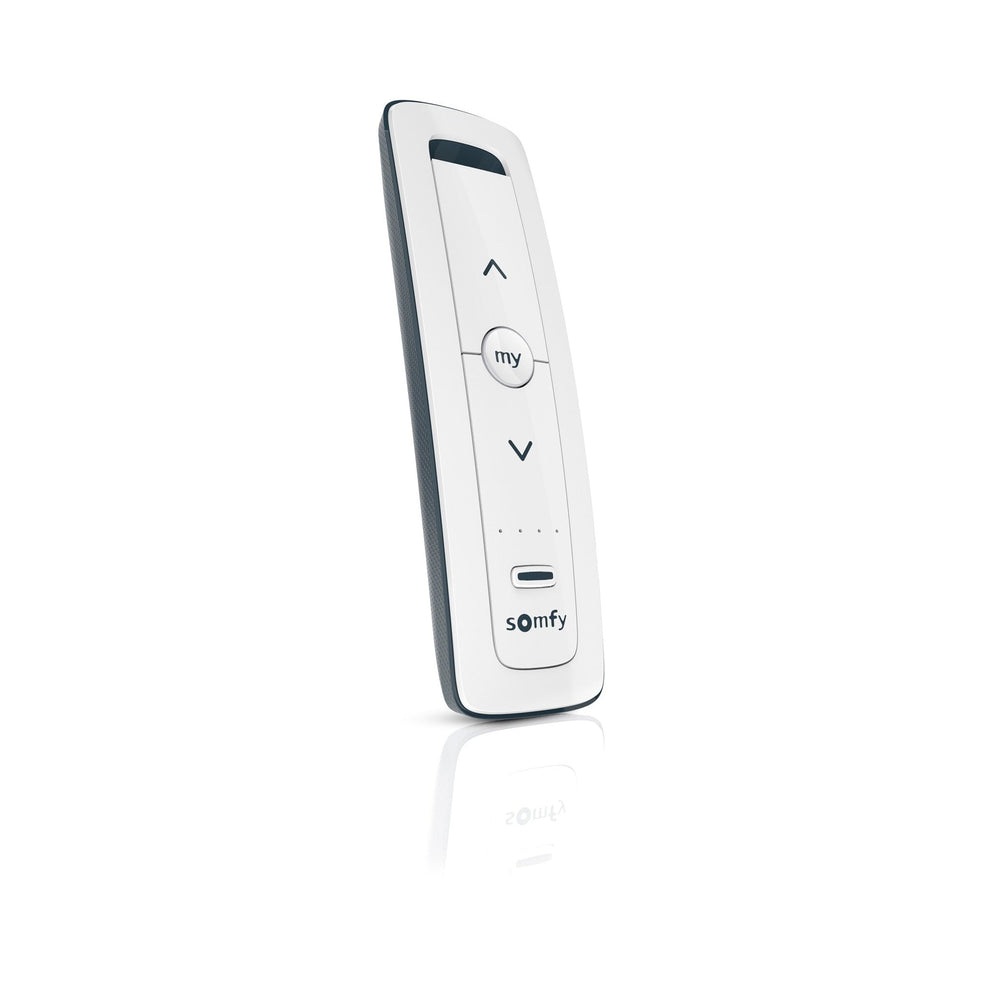
Press the channel selector to step through channels. One light shows channels 1 to 4. Somfy selects channel 5 when all the lights are on.
Watch forCheck the lights before every PROG press. The wrong channel joins the wrong group.
Pick the channel
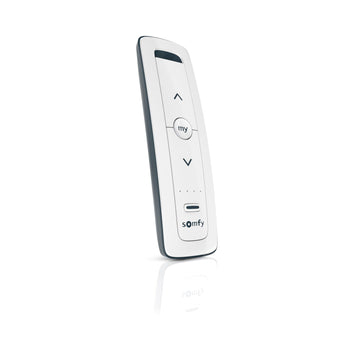
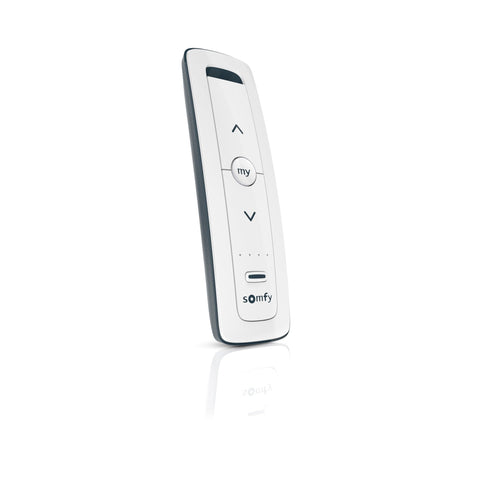
The Situo 5 RTS has five channels, so it can run up to five groups. It takes one CR2032 battery.
ExampleChannels 1 to 4 for four rooms and channel 5 for the whole floor.
Pick the channel
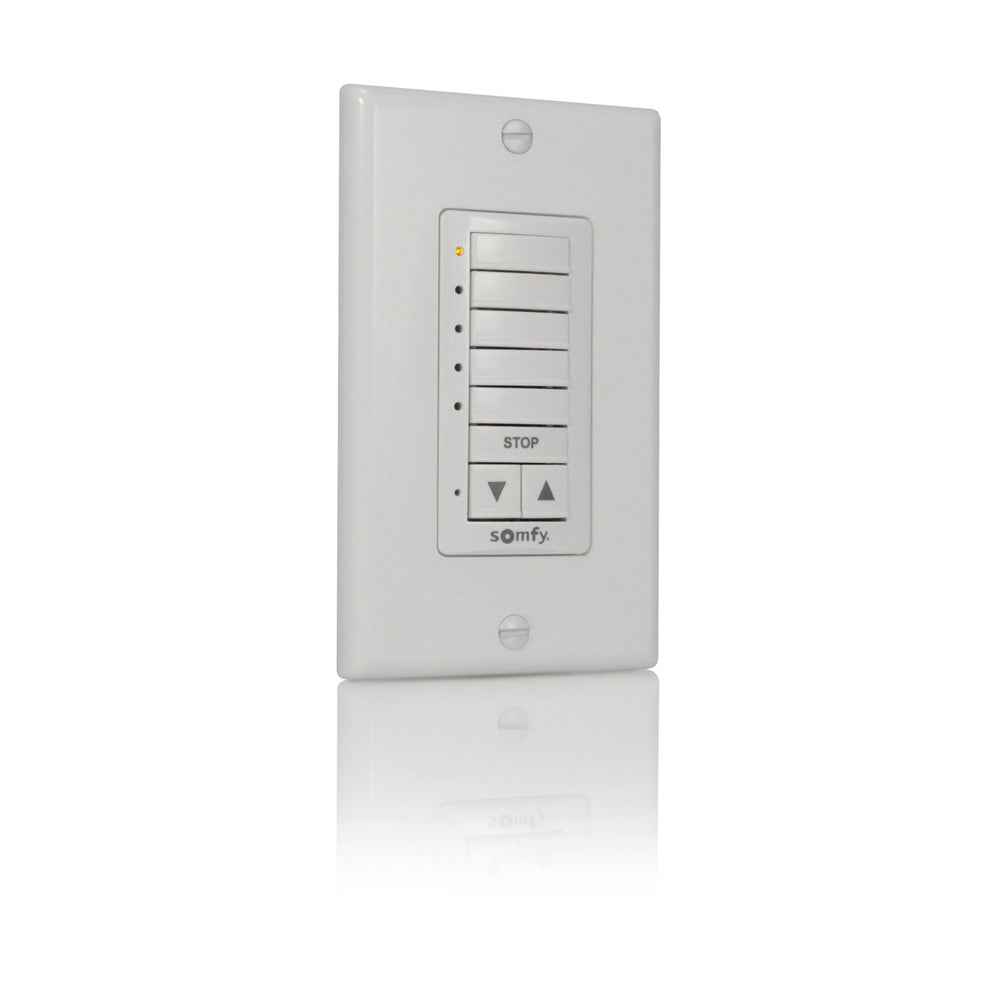
On a DecoFlex wall switch you press the channel buttons to light them before UP, DOWN or STOP. Somfy notes you can run all channels without an all channel.
On the jobAt the door, a DecoFlex can run every lit channel in one press.
Check yourself
Hint: Count the lights Somfy describes for channel 5.
Channel 5.
Module 3 of 4
The two-press sequence Somfy uses to add a control, repeated shade by shade. After this module you can build a group of any size.
3 lessons, then a scenario check.
Add each shade to the channel
On a control already paired to shade A, hold PROG until shade A jogs. Only that motor is now listening for a new control.
On the jobUse the shade's own channel or remote for step 1, never the group channel.
Add each shade to the channel
On the remote that will run the group, select the group channel and briefly press PROG. Shade A jogs. Somfy treats each channel as its own control.
ExampleSelect channel 5 on the Situo 5, tap PROG, and shade A jogs to confirm.
Add each shade to the channel
Do steps 1 and 2 again for shade B, then shade C. Each motor learns the group channel one at a time.
Watch forTest the group channel after each shade. A shade that did not jog did not join.
Check yourself
Hint: Same two presses, next motor.
Hold PROG on a control already paired to shade B until it jogs, then select channel 5 and tap PROG.
Module 4 of 4
How to remove one shade from a group without touching the others. After this module you can reshape a group when a room changes.
2 lessons, then a scenario check.
Take a shade out
Somfy uses one procedure to add or delete a control. Hold PROG on a control you keep until the shade jogs, then select the group channel and tap PROG.
ExampleThe guest room shade leaves the floor group: open it with its own channel, then tap PROG on channel 5.
Take a shade out
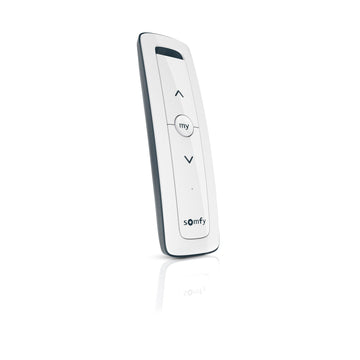
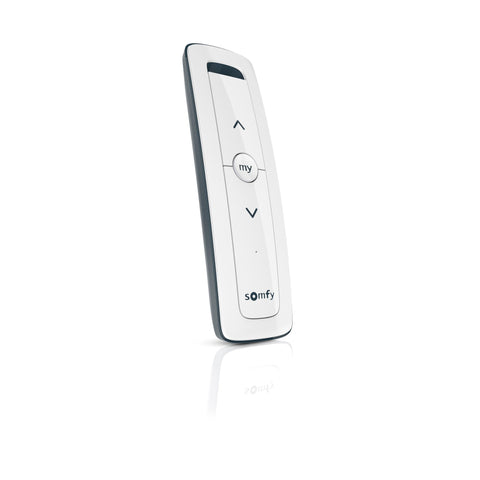
A Situo 1 RTS paired to one shade gives you a clean control for step 1 when the group changes.
Watch forSomfy warns: never do step 1 with the control you mean to delete.

Check yourself
Hint: Which control should start the sequence?
Step 1 used the control meant for deletion. Somfy says to open the motor with a control you keep.
Final quiz
Each question is a real job scenario, one per screen. Stuck? Tap the hint. You see the right answer and why right after you choose. Pass and you get a printable certificate, plus a 10% code for your first ShadeMotorsDirect order.
Question 1 of 10
On the job: A client wants one button to run three living room shades.
Hint: One channel, several shades.
A group puts several shades on one channel.
Question 2 of 10
On the job: A client wants single buttons per shade and one for the room.
Hint: It mixes two layouts.
Somfy shows individual and group together.
Question 3 of 10
On the job: All four lights glow on a Situo 5.
Hint: Somfy describes channel 5 this way.
Channel 5 is selected when all lights are on.
Question 4 of 10
On the job: A DecoFlex wall switch has channels 1 and 3 lit.
Hint: Lit means selected.
DecoFlex runs the channels you light before pressing UP, DOWN or STOP.
Question 5 of 10
On the job: You start adding shade B to the group channel.
Hint: Open the motor first.
Step 1 uses a control the motor already knows.
Question 6 of 10
On the job: Shade B jogged after step 1.
Hint: Add the new channel.
A brief PROG press on the selected channel adds it.
Question 7 of 10
On the job: You add shade C and see no jog after step 2.
Hint: A jog confirms each step.
No jog means the step did not store.
Question 8 of 10
On the job: The guest room shade must leave the floor group.
Hint: Somfy uses one procedure both ways.
Adding and deleting a control use the same steps.
Question 9 of 10
On the job: You need to remove the group channel from one shade.
Hint: Somfy warns about one control.
Never do step 1 with the control you mean to delete.
Question 10 of 10
On the job: A client wants a simple control for future group changes.
Hint: Step 1 needs a control the motor knows.
A Situo 1 per shade gives a clean control for step 1.
Almost done
Your score shows on the next screen. The certificate goes to your inbox so you can download it again later.
Parts used in this course
Parts used in this course
Your cart is currently empty.
Not sure where to start? Try these collections: